
John Malecki Guitars
I Made a Guitar with John Malecki’s Scraps: How a 10-Hour Drive, a Free Bandsaw, and Six Gallons of Epoxy Turned into Two Guitars (and One Giveaway)
If you ever wondered what happens when a borderline-obsessive guitar builder with a penchant for weird materials meets a former NFL player turned woodworking YouTuber named John Malecki, the answer is: chaos, craftsmanship, and a ridiculous amount of epoxy. Hi — I’m Andrew from Scarlett Guitars (yes, that guy who builds guitars in a garage and watches far too many YouTube woodworking channels). This is the story of how I reached out to one of my biggest inspirations, drove ten hours to his shop with the subtlety of a man trying to impress, walked away with scraps (and a band saw — free), and somehow turned all of that into a neck-through guitar, two bolt-on guitars, a giveaway, and a memory I’ll never forget.
Why John Malecki? Why Drive Ten Hours?
Let’s get real: John Malecki is a household name in the woodworking and YouTube maker world. Former NFL player, relentless work ethic, and the kind of projects that make you ask, “How did he even think of that?” He’s also one of those creators who inspire you to raise your game — not because he’s flashy, but because his work refuses mediocrity. So when I slid into his Instagram DMs with the most nerve-wracking message a fan-builder can send — “I want to build you a guitar” — he replied with three words I still can’t believe he typed: “Let’s do it.”
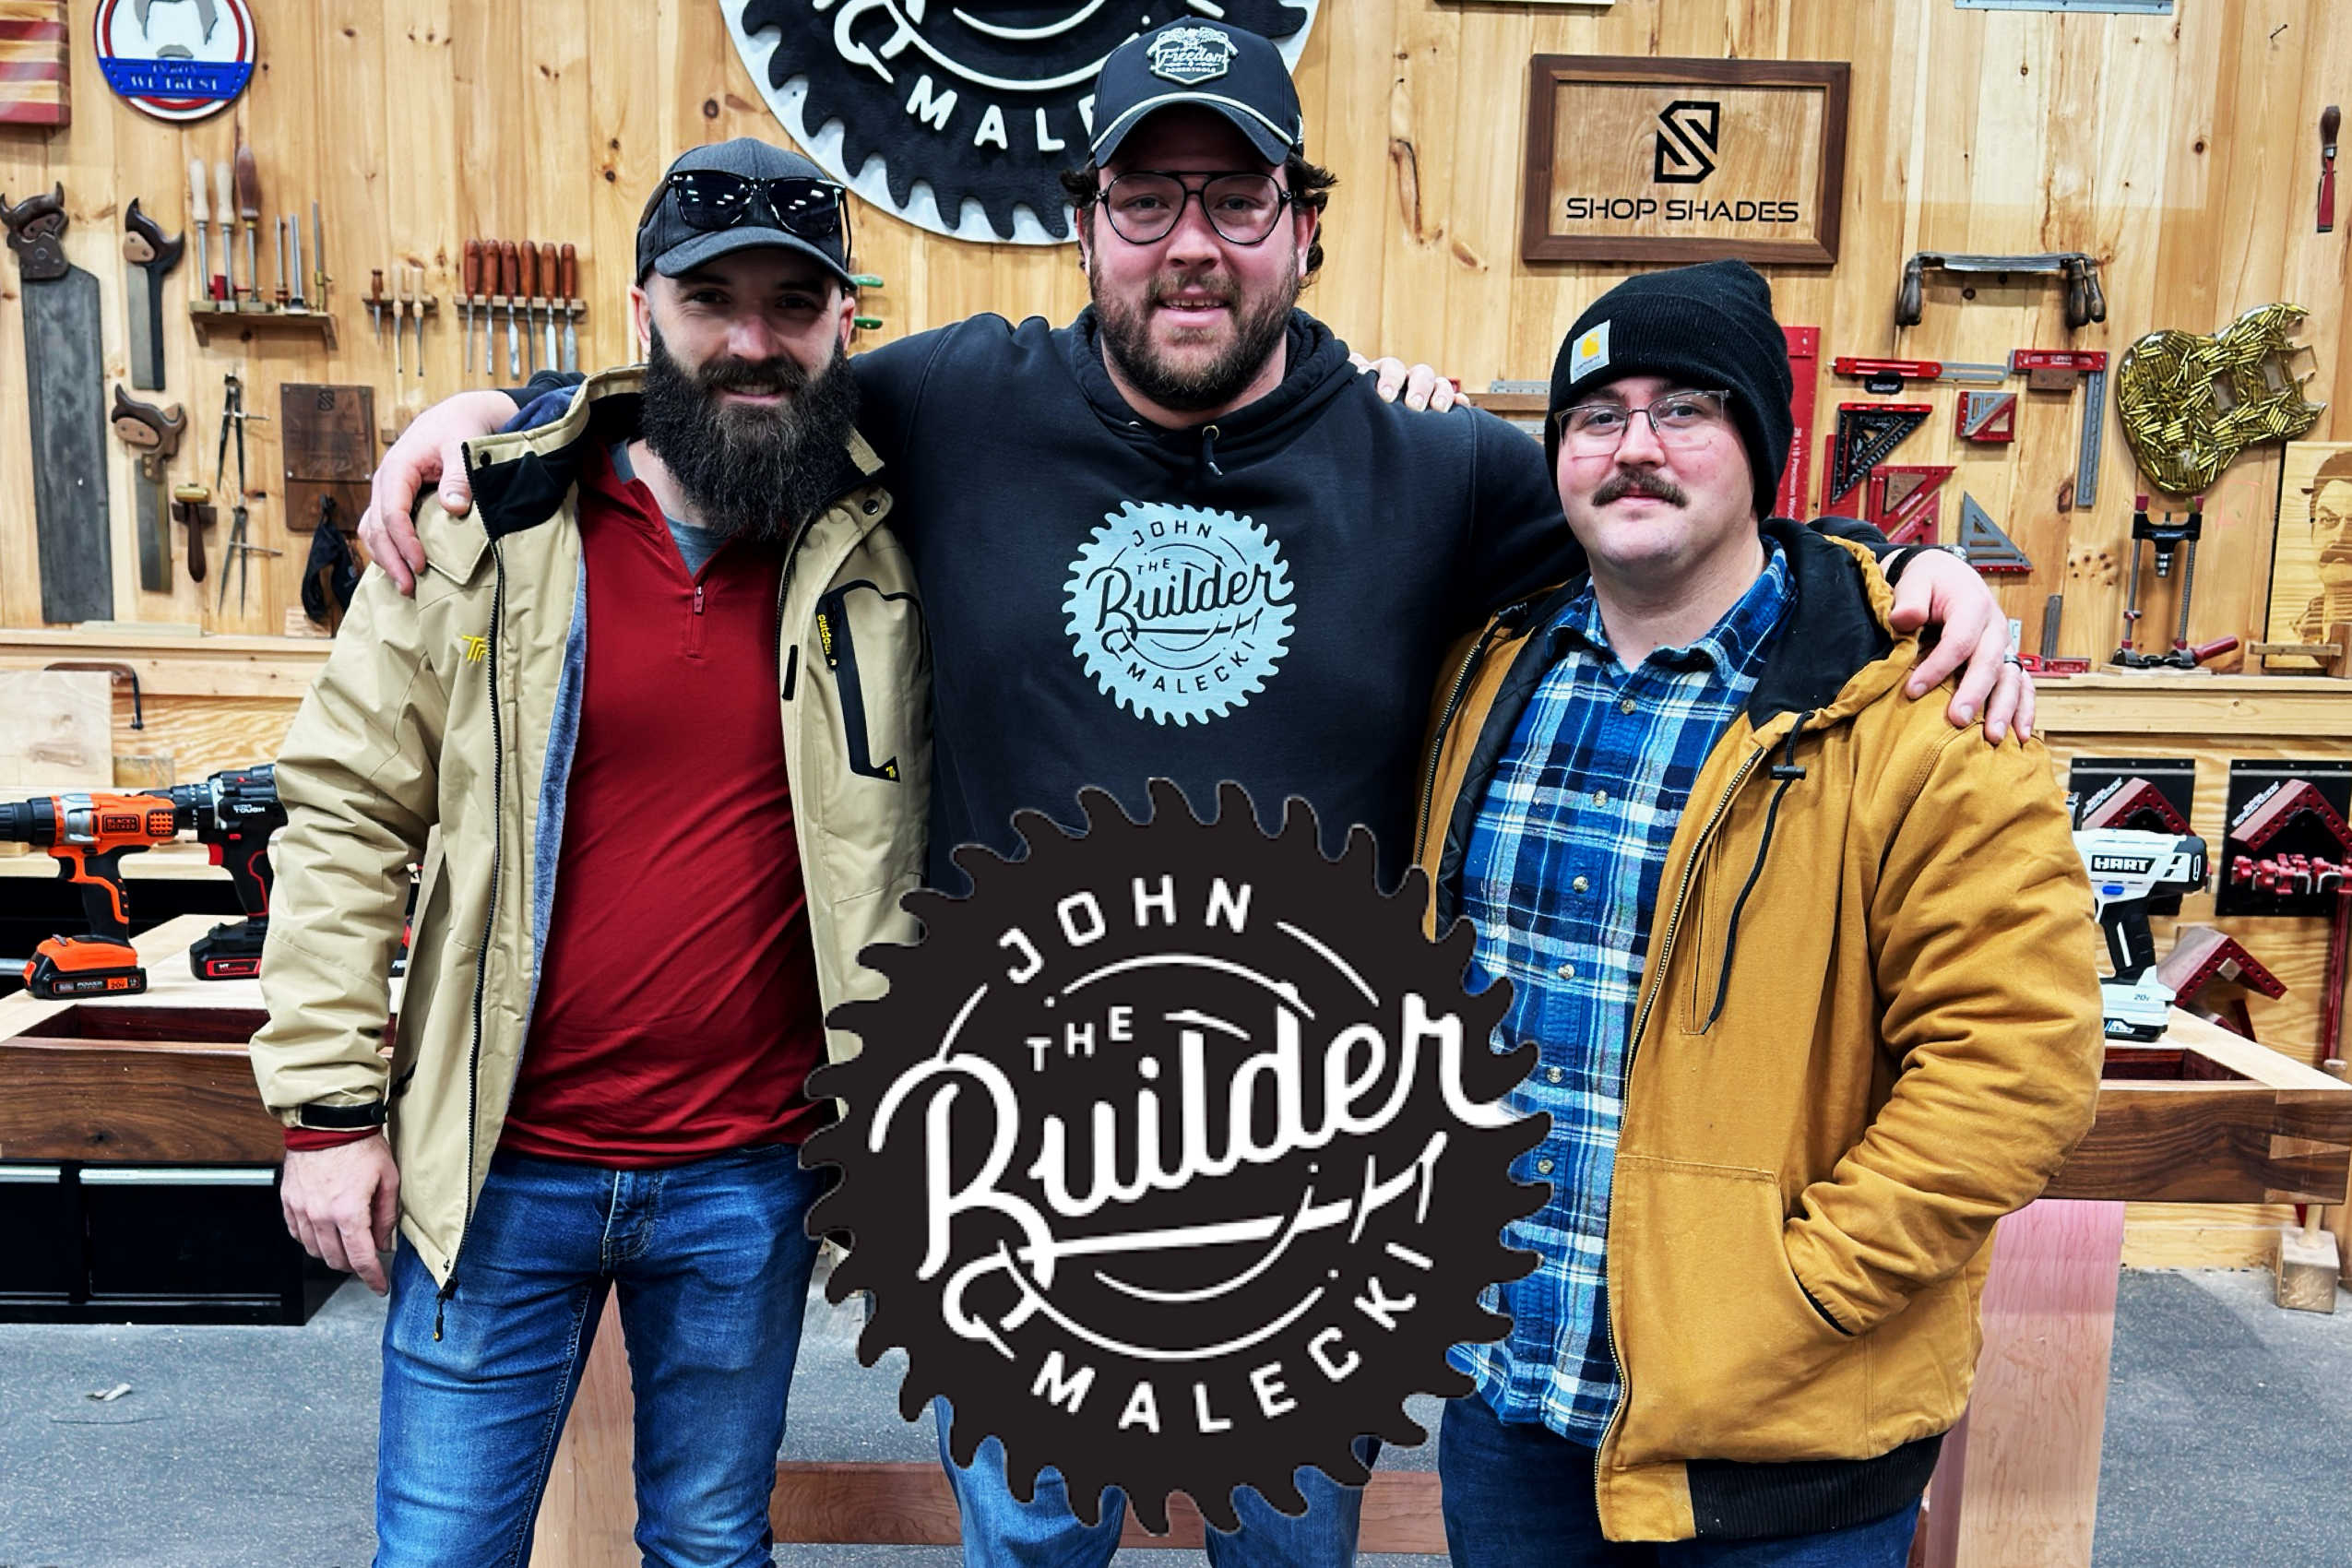
The Shop Visit: Wood, Stories, and a Free Bandsaw
We packed up the truck, hit the road, and drove ten hours — because apparently that’s how modern friendships are formed: through mutual admiration and a willingness to spend an entire day on asphalt. When we got to John’s shop, it was everything I’d imagined: a place where tools hum and projects live their best lives. I went for wood. I left with: cottonwood burl cutoffs, pieces of a Black Rifle Coffee Company table (yes, that company), a huge block of Corian that had been combined with slow-cure epoxy, and — wait for it — a bandsaw that had no home.
John just handed it to us. In the snow. Because generosity is his thing and apparently giving away a bandsaw to a stray guitar builder felt about right. We also came back with a drill press (true story — John couldn’t stop gifting us stuff as if he’d been granted a one-time “spoil the visitors” coupon). So now I’m driving home with enough materials to tempt fate, tools to enable terrible decisions, and a guilt-tinged excitement because I’d promised to make something worthy of his scraps.
Designing the Guitar: Neck-through, Corian Wings, and a Little Bit of Madness
I decided to make a neck-through guitar. That felt right. Neck-through guitars have an aggressive, weapon-like look to them — especially when you combine them with exotic tops and weird materials. Also, in my (perhaps misguided) imagination, John looked like a neck-through kind of person. I know, creative license, whatever. The real plan: use the Corian-and-epoxy slab for the wings of a neck-through, use cottonwood burl as the top veneer, and incorporate guanacost and black veneer to add depth.
Here’s the thing with using stuff like Corian and epoxy: they're heavy, dense, and temperamentally different from wood. So gluing them to a wooden neck requires a proper strategy. Which I mostly learned by doing — waiting a lot, experimenting, and cursing at my router at 3 a.m. (no shame).
Key Materials and Why They Matter
- Corian + Epoxy slab: Came from John’s Game of Thrones / House of the Dragon table project. Thick, solid, and aesthetically wild. Great for dramatic wings — bad for keeping your arms from aching during long playing sessions.
- Cottonwood burl: The stunning, porous top that looks like an oil painting. But porous burls love oxide and epoxy — they soak it up like a thirsty sponge. That required stabilization techniques and patience.
- Guanacost, black veneer: Small touches that add contrast and help raise/stabilize the fretboard to match bridge height.
- Slow-cure epoxy (six gallons): Because if you’re going to commit to a bad idea, you might as well do it with industrial quantities of adhesive.
Raising the Fretboard vs. Setting Neck Angle: A Decision That Saved Me (and Maybe Doomed Me)
When designing a neck-through, alignment is everything. The fretboard height relative to the bridge dictates the action and playability. You can either set a perfect neck angle so the fretboard sits right above the body or you can raise the fretboard with a multi-veneer riser. I picked the latter, partly because it seemed simpler and partly because I did not want to get math’d into oblivion setting a perfect neck angle.
So I laminated black veneer and guanacost to raise the fretboard to the right height. It felt like cheating and like brilliance simultaneously. The advantage? If the neck angle is off, extra fretboard height can compensate. The disadvantage? More glue lines, more potential for screwups, and more sanding later.
Milling, Resawing, and the First Taste of Regret
With the slab and burl in the truck, I got to work. I resawed pieces, tested bandsaw blades (realizing the first time I used a proper resaw blade on my bandsaw), and marked everything with templates. Speaking of templates: if you ever want to build your own guitar and avoid the part where you invent the body shape like an ancient cave painter, I sell full template kits that include body, neck, pickup cavities, electronics cavities — the whole nine yards. No sales pitch? Totally a sales pitch. Because when your template does a good job, your router is less likely to open a portal to the underworld and eat your workpiece.
Pro tip: when you template a neck-through, make sure your neck blank is thick enough, your wedge is centered, and your truss rod channel doesn’t intercept your power carving hopes.
Stabilizing the Cottonwood Burl: Epoxy, Patience, and Lots of Waiting
My cottonwood burl tops were beautiful but thirsty. They sucked up the slow-cure epoxy like it was their job. John had passed me about six gallons of slow-cure epoxy — enough to fuel a small boat — and I used most of it. The plan: saturate the burl with epoxy, let it cure for a week (yes, a whole week), then surface and see if the top would behave.
That wait time is a big theme in this build. Because I was waiting for epoxy to cure, the guitar took longer than I expected. I’m not an especially patient woodworker; waiting makes me dangerous. Dangerous and resourceful, but mostly dangerous.
Why stabilize burls with epoxy?
- Porous burls are structurally weak on the surface. Saturating them strengthens them enough to take screws and withstand routing without chipping out.
- Epoxy fills voids, prevents tear-out during routing and sanding, and creates a more predictable surface for glue-ups to non-porous materials like Corian.
- It also looks hotter than a jalapeño in a leather jacket, assuming you get it right.
The Bookmatch Fretboard Gamble (and Why I Kept My Fingers)
Because waiting had turned me into a reckless gambler, I decided to make a bookmatched burl fretboard. The wood came from a ridiculous 1,000 lb burl Shawn and I milled with a chainsaw in the back of my truck — the kind of oversized project that exists solely to make you tell future you “I remember when we did that.” The material was hyper-figured, dried to roughly 7% moisture content, and bordered on being denser than a philosophical thesis.
Cutting the frets in that material felt like trying to slice through a small planet. Shawn, who has “feeble and feminine hands” (his words; I only repeat them to save myself from his wrath), had trouble cutting the frets. I had trouble not throwing the file across the shop. Ultimately, we routed the truss rod channel, laminated the riser, and proceeded to curse like sailors when the epoxy glue up split down the middle.
The Great Split: How I Fixed the World (and the Fretboard)
Disaster strikes. The glue up split. In a world of guitar-building grief, this is a big one: you’ve sunk hours into a beautiful thing, and then BOOM, it uncorks itself down the spine. That’s when you have to get squirly — a John Malecki term I took to mean doing the thing that maybe feels desperate but might be brilliant.
I routed a 1/8-inch channel down the middle of the split and later filled it with a custom-made inlay piece: a thin strip of Claro walnut sandwiched with black veneer, fitted perfectly into the routed space. It took a while to get a flawless fit, but the result looked intentional — a “feature” rather than a glaring flaw. This is where I like to cite a favorite woodworker-to-maker origin-story: Paul Reed Smith once routed a channel and filled it to fix a glue line for Carlos Santana’s guitar, and that “accident” became iconic.
“Mistakes happen and sometimes the fix can be better than the original idea.”
If PRS can spin a flub into a legend, so can I. I'm at least morally obligated to think of myself as the Bob Ross of guitar building: happy little accidents, with a little more profanity.
Glue, Domino Joiners, and the Art of Waiting
Gluing the wings to the neck-through required alignment precision. I used a domino joiner to keep everything lined while the epoxy cured. Because the materials were mixed — wood, Copolyester Corian, epoxy — I didn’t trust anything less than a monstrous glue up. And no matter what, it meant waiting another week for the epoxy to cure. The domino joiner is a lifesaver here: it keeps everything aligned without relying on clamps that slip or magic incantations.
Meanwhile, I filled the fretboard channel with that Claro walnut strip and black veneer, sanded it flush, and hoped the gods of woodworking would forgive me for the sacrilege of routing through a burl-drenched fretboard.
Shaping the Neck: Router Bits, Dremel Carving, and the Joy of Palm Relief
With the glue ups stable, it was time to shape the neck. I used a giant table-edge router bit to get the rough shapes done. This bit is a workhorse for getting a human-sized chunk of wood into a human-shaped neck without hand-shredding your knuckles. But be careful — go too deep and you hit the truss rod, and it’s a downward spiral of disappointment.
John suggested I start power carving. My main power carving tool at the time: a Dremel. The Dremel was weak but better than rasping the palm relief into the neck with the fury of a medieval peasant. Later, I finished shaping with rasps and sanding until my arms felt like they belonged to a man twice my age.
Why the Dremel? Because sometimes the best tool is the one you’ve got and are willing to hold steady while cursing in a surprisingly melodic cadence.
Hanging Headless: A Design Quirk with a Purpose
This guitar is a hanging headless — not a true headless, but one with little wings on the headstock so John could hang it in his podcast studio. Function meets form. The idea popped out of a conversation with John, who wanted something to hang. So I made wings. The result: a guitar that almost doubles as wall decor and almost certainly looks dramatic when someone asks, “Is that for show or do people play it?” The answer: yes.
Router Templates, Electronics Cavities, and That Moment You Realize You're Almost Done
Routing pickup cavities and electronics cavities was a moment of triumph. If you use templates (and you should), you can create perfectly fitted lids and cavity boards every time. I didn’t want to carve into the Corian back face, so I milled a cavity lid that matched the contour. It made the electronics compartment feel tidy and intentional rather than hacked-together by a tired man with a router and a questionable sense of timing.
Pro tip: three-piece electronics cavity templates are game changers. They help you align magnets and fasteners and make sure your lid sits flush without wobbly screws or the need to threaten the screw’s life.
Frets: Gold vs. Chrome, Fretwork Kits, and the Slow, Satisfying Art of Polish
I have a thing for gold or brass-colored frets. They look classy against dark woods — an aesthetic choice I’ve doubled down on recently. Installing frets is, unquestionably, a labor of patience and repetition. I normally dread fretwork because it’s time-consuming and a little bit of a 12-step program for dudes who hate repetition.
This time, I tried a Fret Laser kit — a handy collection of sandpapers, an action ruler, and a shaped handle that allows you to sand around the entire fret in one pass. It’s a small toolkit but it sped up the process and made my fingers grateful. After hand-sanding, I finished the frets with a Dremel polish and then buffed the necks hard with Walrus Oil furniture butter — my not-so-secret no-spray finishing method for when you don’t have a spray booth or the patience to go gloss through 12 grits.
Inlays That Aren’t Basic: Brass Rings, Flocking Powder, and a Lot of Patience
For the fretboard inlays, I wanted something that felt classic but a little weird — like an old-school ring with a modern twist. I hammered brass rod into ring shapes, glued them in, and filled the holes with white flocking powder and thin cyanoacrylate glue. The flocking inside the brass ring gave me a glossy white finish that wasn’t mother-of-pearl, but it was interesting, tactile, and required the patience of a saint to pack each inlay properly.
If you’re making guitars and want unique inlays without spending a mortgage on shells: brass rings + flocking powder is a route. It takes time, but it reads as an intentional design choice rather than a “we had nothing else” moment.
Knobs, Knobs, and More Knobs: Turning Wood for the Final Touches
For the knobs, Shawn and I turned cubes from Wingay and Bote wood. They came out tall — maybe a tad comical — but paired with the guitars’ aesthetics they leaned into a “burning cigar” vibe. I wanted the knobs to reference the neck wood and body lamination, tying the project together with an edible-looking but completely non-edible garnish.
Turning knobs is one of those satisfying final steps: it feels like a chef’s sprinkle of parsley right before you serve up the meal.
Finishing: Walrus Oil Instead of the Full Spray Booth Ordeal
I know the purists will sigh at the thought of a no-spray finish, but honesty: I don’t have a spray booth set up in my garage and I also was running out of time. Instead, I used Walrus Oil furniture butter. It’s fast, it brings out the grain like a spotlight, and it’s tactile — you can rub it in, buff it, and see immediate results. Not a glassy showroom gloss, but a warm, playing-friendly finish that’s ready to be handled without waiting months.
Also, it gave me a good 2000-grit buffing payoff that made the guitars camera-ready for the surprise shoot.
The Giveaway: Making Two More Guitars (Because One Is Never Enough)
Because what started as “I’ll build John a guitar” mutated into a full-blown passion project, I also built two more guitars: one for John and one to give away to one lucky person. These were more traditional bolt-on necks with the PR Scarlet design — think PRS double cut horns with a signature Scarlet lower cutaway for playing comfort. The bodies used guanacost from the Black Rifle Coffee table and cottonwood burl tops. The necks? Wing birch bed with bookmatched fretboards to match the whole crazy lamination theme.
Why a giveaway? Because giving stuff away is the best kind of marketing. Also because I’m an idealist and once you start building, you want others to feel the same thrill of cracking open a guitar case and seeing something you had a hand in creating. The giveaway isn’t cheap — guitars and shipping add up — so there’s a membership option where members get extra entries. For those who don’t want to join a membership, there’s a free route to enter via the website. Everyone can win in theory; not everyone will win in practice. That’s life, and truthfully, it’s what makes winning feel special.
The Big Reveal: Surprising John Malecki
After months of build time, epoxy cure cycles, and a few hair-pulling moments, it was time to ship the guitars and surprise John. I snuck into his shop, left a guitar where he’d least expect it, and watched things unfold. The reaction was everything you want as a maker: half bewilderment, half gratitude, and mostly just genuine human delight. He was visibly moved, and hearing him riff on the build — the design choices, the patches, the little quirks — was worth every minute of the long drives and sleepless finishing nights.
That moment validated the whole reckless endeavor. I built something for someone I respect, gave away another to a stranger who will hopefully cherish it, and learned more about woodworking in the process than I have in a few years of smaller builds.
Lessons Learned (Because You’ll Ask)
- Epoxy stabilizes but it takes time: If you’re using porous burl, plan on multiple slow-cure epoxy baths and weeks of wait time for each glue-up. Don't rush it unless you like stress and minor heartbreak.
- Raise the fretboard, don’t gamble a neck angle: If you’re nervous about neck angles, a veneer riser can save your life — it saved my sanity on this one.
- Use templates and a router table: Pattern and flush-trim bits and a sturdy router table are worth their weight in polished frets.
- Domino joiners are alignment angels: For glue-ups with mixed materials, keep things indexed so your surfaces match when the clamps come off.
- Be ready to “get squirly”: Mistakes will happen. Have a plan to route and fill or inlay, and remember that a fix can become a signature feature.
- Gold frets are personal preference: They look classy on dark woods, but are purely aesthetic. Chrome and nickel-silver are durable workhorses.
- Don’t underestimate tool generosity: Visiting a fellow woodworker could come with free tools — and moral responsibility to use them well.
Tools, Gear, and Shop Tips for Aspiring Guitar Builders
If you want to start building guitars, here’s a practical list of tools I’d recommend based on how I build:
- Router table with quality pattern and flush trim bits — for body shaping and headstock chamfers.
- Variety of sanders — spindle sander for headstocks, belt and random-orbit sanders for shaping and surfacing.
- Trim router — the small but mighty workhorse for detail work.
- Spindle sander — perfect for smoothing curves and headstock transitions.
- Domino joiner — alignment without hair loss.
- Band saw with resaw blade — for bookmatching and resawing tops and veneers.
- Good fret files and fretwork kit — fret leveling, crowning, and polishing will make the instrument playable and pleasant.
- Drill press — for recessed jack holes and precise drilling.
- Turning lathe — for knobs if you want custom-turning, but you can also buy knobs.
- Walrus Oil or similar finishing oil — if you don’t have a spray booth, oils and waxes can produce beautiful results fast.
Why I Don’t Believe the Whole “Tonewood” Myth (and Why That’s Okay)
Let’s be frank: for electric guitars, tonewood debates can spiral into cult-like arguments. Does a mahogany body vs. alder or swamp ash matter? It matters to some extent—weight, sustain, and resonance change with wood—but the pickup choice, electronics, setup, and method of construction will typically overshadow tiny tonal differences for most players.
So I focus on look, feel, and player ergonomics. I want guitars that inspire you to play. A quilted maple top dyed blue with gold hardware looks like a unicorn and makes you practice until you can justify the purchase. That’s worth more to me than a theoretical 1% resonance difference. Build what makes you want to play, and don’t get sucked into endless debates over absolutes.
On Collaboration, Community, and Why You Should DM a YouTuber
If there’s one meta-lesson here, it’s that reaching out to the people who inspire you can lead to unexpected opportunities. Slide into the DMs (politely) with a good idea, not just fanfare. Offer something — a collaboration idea, a thoughtful question, a well-crafted pitch. You might get lucky and be handed a bandsaw in a snowstorm. Or you might just walk away with valuable feedback. Either outcome moves you forward.
And for those who build guitars as a hobby: keep making, keep sharing, and keep asking for help. The guitar-building community is big enough to support many creators. Tag woodworkers you want to see collaborators, talk to guitar players you admire, and most importantly, make something you’d be proud to hang on your wall.
The Climax: Fix the Problem, Save the Project, Deliver the Moment
Here’s the part of the story you came for: the crescendo where the problem gets solved and the payoff is worth the months of glue fumes. The major crisis was the split burl/glue-up. I could have thrown the whole guitar into the “never speak of it again” pile. Instead, I routed the channel, inlaid a perfectly matched cedar-colored strip, and turned the flaw into a design feature. Then I built two more guitars, refined the finishes, turned knobs, polished frets, and shipped the lot to John.
The reveal was the unforgettable ending. Walking into John’s shop, watching his reaction, and seeing the guitars hang where they’d been imagined months earlier — that feeling justified the drive, the epoxy, and the arrogant optimism that birthed the project. That’s the climax: everything comes together, not because it was all flawless, but because fixes were honest and intentional and because a community of makers helped make it real.
Final Thoughts: Build Big, Fail Small, and Don’t Waste the Epoxy
In the end, building guitars out of other people’s scraps — especially scraps that have a story — is a special kind of creative alchemy. It’s taking a chunk of someone else’s work, honoring it, and reinventing it into an instrument that sings a different song. This project taught me patience, forced me to learn proper stabilization techniques, and gave me a story I’ll tell for years: the time I drove ten hours to John Malecki’s shop and came back with a bandsaw and a box full of ideas.
If you make guitars, do one thing for me: create something that solves a real problem — whether that problem is “I don’t have a guitar that looks like an axe” or “my top keeps chipping” — and share the solution. Tag the creators you want to see collaborations with. Send the DMs. Make the mistakes you can afford, learn the ones you can’t, and turn the accidents into something iconic. And if you ever get a chance to hand a guitar to the person who inspired you, do it. The look on their face is worth the six gallons of epoxy and the sleepless nights.
Closing (and a Thank You)
John, if you’re reading this: thanks for the tools, the wood, the patience, and the shop tours. For everyone else: go build something ridiculous, follow the people who make you want to improve, and remember that everything in this world is fixable — even glue lines that threaten to ruin your week. If you want to see more builds like this, subscribe, join the membership for extra giveaway entries, and drop a comment tagging craftsmen or players you’d like to see me collaborate with. Post Malone? Carlos Santana? A small army of guitarists would be a starting point.
And if you ever find yourself staring down a split burl, take a deep breath, route a channel, and make it your signature. You just might accidentally invent the next iconic look.


%0AIf%20you%20ever%20wondered%20what%20happens%20when%20a%20borderl...)
1 comment
Dude ive always dreamed of having a costom guitar love the content
Casey smith
Leave a comment
This site is protected by hCaptcha and the hCaptcha Privacy Policy and Terms of Service apply.