
Article: Making 10 Custom Guitars for the Dallas International Guitar Festival

Making 10 Custom Guitars for the Dallas International Guitar Festival
It was crunch time at Scarlett Guitars. I had five days to turn a pile of beautiful wood into a serious batch of custom guitar builds, all while settling into a brand-new shop and trying not to lose my mind in the process.
This was not a casual week. This was one of the hardest things I’ve ever taken on in the shop. We had black limba, quarter-sawn walnut, African mahogany, sapele, Richlite, myrtlewood burl, maple burl, and enough material to either make something incredible or completely bury ourselves in work.
Fortunately, I’m stubborn.
The wood pile and the plan
Before any cutting started, I had already milled and staged a lot of material in the previous shop. Not because the work was done, but because moving a full guitar shop is a production all by itself. My wife and I had just moved into a new house, which meant the entire shop had to be broken down and rebuilt from scratch in the new location.
So when I say I had “pre-made” guitars around, what I really mean is I had pre-prepared parts and rough stock ready to become instruments. Bodies, neck blanks, fretboard materials, tops, and some new designs were all waiting for their turn.
Among them were:
- Black limba bodies
- Quarter-sawn walnut necks
- Mahogany and sapele stock
- Richlite fretboard material
- Myrtlewood burl and maple burl tops
- New Sparrow model body blanks
- Single-cut, headless miniature guitars with full scale length
That last one is one of my favorite directions we’ve taken. They’re compact, headless, full-scale, and just plain cool.
Why I changed how Scarlett Guitars works
The move forced me to rethink more than just layout. It changed the business model too.
I’m not interested in mass production. Scarlett Guitars was never going to become a churn-and-burn operation making the same thing over and over. There are too many great builders out there already doing factory-style consistency. That’s not my lane.
What I care about is rarity, personality, and materials that feel like they deserve a one-off instrument built around them. So during all the milling and planning, I decided to launch what I call the Scarlett Guitars Collector’s Vault.
The idea is simple:
- Build in small, random drops every one to three months
- Sometimes release five guitars
- Sometimes release one totally over-the-top build
- Keep every piece unique in specs, materials, and character
That’s the heart of these custom guitar builds. Each one has its own story. Its own wood. Its own feel. Its own reason for existing.
I’m not building for the person who wants the cheapest instrument on the wall, and I’m not trying to compete with a mass-produced name-brand piece hanging in a chain store. I want to make guitars for the person who wants something different, something with identity, and something that won’t be repeated.
Rebuilding the shop before building guitars
For months, the real work wasn’t guitar building. It was preparing to build guitars again.
I had to run electricity, install cabinets, paint, build workbenches, get tool stations set up, and create a workflow that made more sense than what I had before. There’s nothing glamorous about that part, but it matters. A lot.
One major upgrade was adding a sub-panel with dedicated outlets for each tool. That solved a very real problem from the old setup: tripped breakers, overloaded circuits, and emergency hardware store runs in the middle of a job. I was done with that.
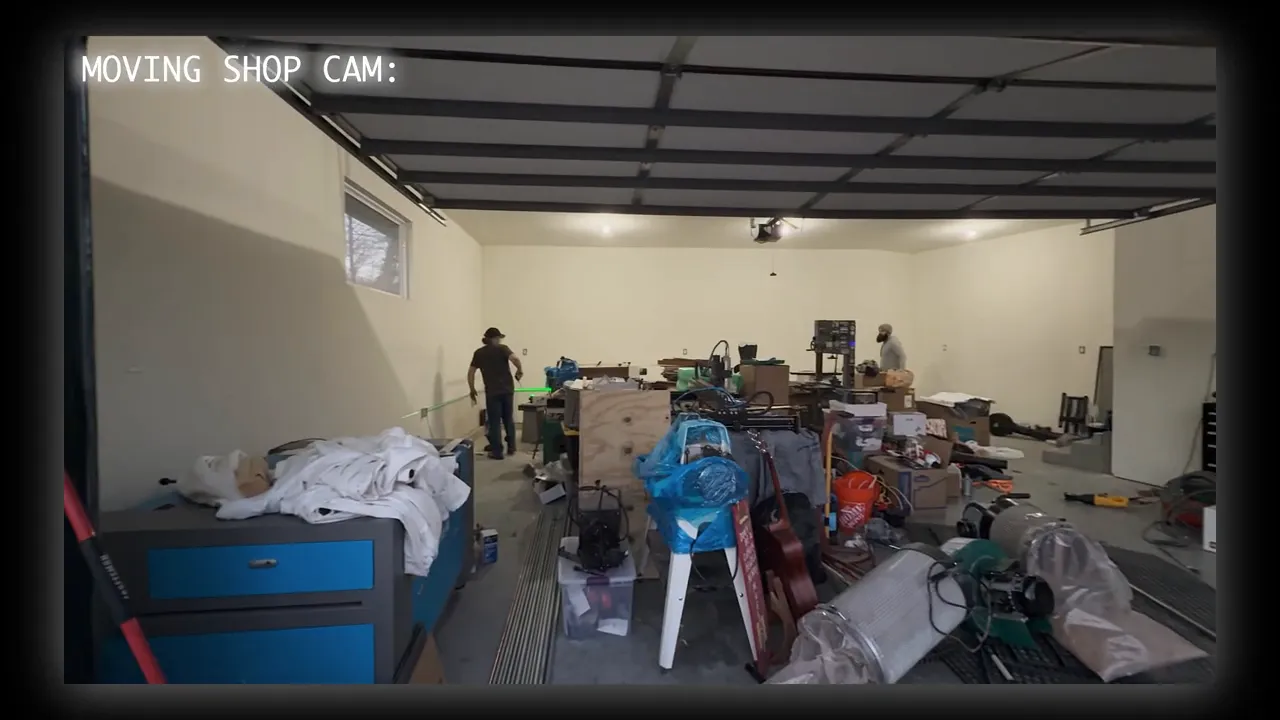
We moved everything in brutally cold weather, with expensive equipment sitting exposed in 3-degree temperatures while we loaded and unloaded. Thankfully, the new shop was insulated, and with help from a few friends, we got the heavy machines moved in a day.
After that came the atmosphere. I wanted the new space to feel like Scarlett Guitars. So I leaned into an industrial studio vibe with matte black ceilings for light diffusion and dark walls that gave the room a creative, clean look on camera and in person. I also built custom ceiling mounts for the dust collection using mostly 6-inch HVAC tubing.
It finally felt like a proper home for serious custom guitars.
Starting the tops: resawing, bookmatching, and the first problem
With the shop up and running, it was time to cut wood.
For the figured tops, I started by resawing billets that would later be bookmatched. The goal was to cut the basic pieces first, then open each pair like a book and reveal the figure. I was hoping to get three tops out of one maple piece, and the setup was looking good until the first hiccup hit.
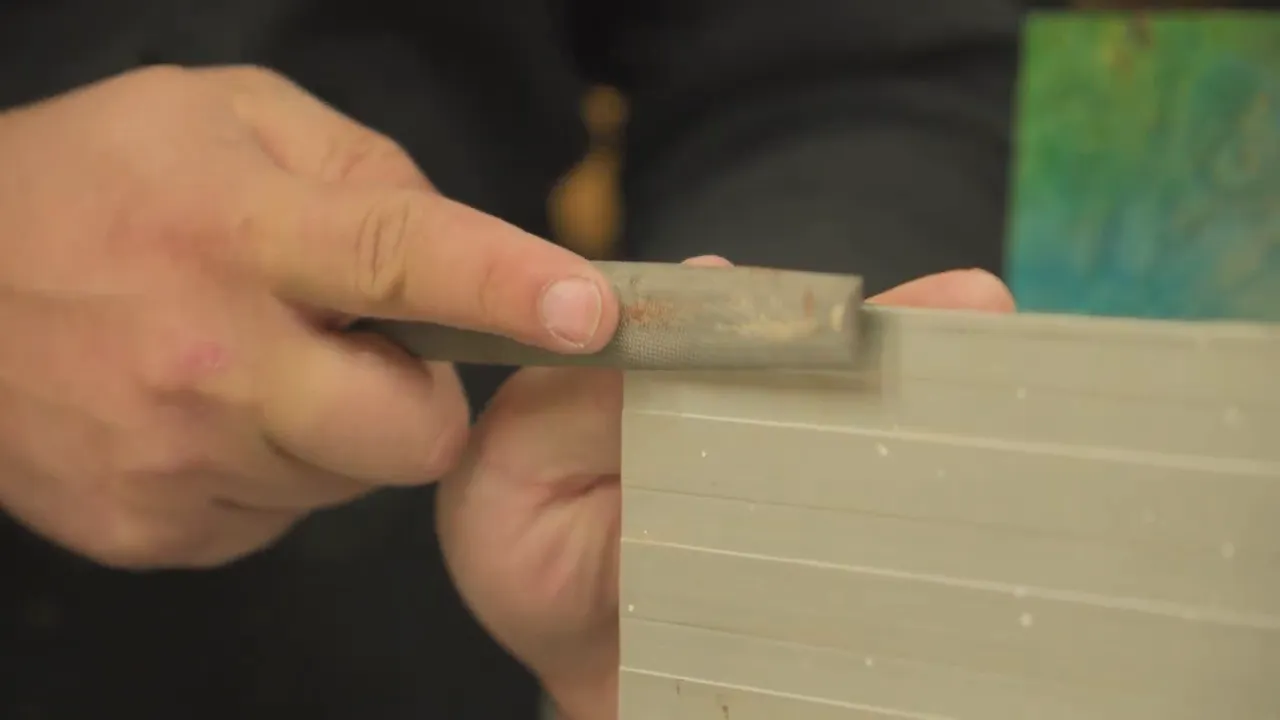
The bandsaw fence had been damaged during the move.
Nothing dramatic, just enough of a deformity to make clean resawing a problem. So I did the least glamorous fix possible and filed the aluminum fence by hand, rounded the burr over, and got it smooth enough that wood would pass cleanly without catching.
Sometimes the difference between work stopping and work continuing is literally a file and ten minutes of stubbornness.
Flattening body stock when the jointer isn’t wide enough
Some of the body stock was too wide for the 8-inch jointer, so I had to flatten one side using the CNC with a large 2-inch surfacing bit. Once a face was flat, I could take the blanks to the planer and bring everything to final thickness.
That gave me a clean, consistent stack of body blanks ready for glue-ups, veneers, and tops. Some were destined to become Sparrows. Others were standard-size builds. Everything got cut down to widths that would fit through the 15-inch planer so I could keep the process moving.
The moment natural wood comes alive
There’s a moment in every batch of custom guitar builds that reminds me exactly why I love doing this.
It happens when you hit figured wood with a little spray and the grain wakes up.
That was the moment here.
Maple tops, myrtlewood burl, more maple burl, each one revealing a completely different personality. You can dye wood, stain it, tint it, and do all kinds of finish work later, but there is nothing like that first reveal when the figure suddenly jumps out and tells you what the guitar wants to be.
A few highlights from that stack:
- A stunning myrtlewood top that looked too good to color at all
- A maple top tested with some color for one of the Sparrow builds
- Multiple figured tops reserved for smaller Sparrow bodies
- One especially wild top where the black epoxy fill later gave it a tiger-like look
Natural wood guitars are still my favorite for exactly this reason. The material does half the design work for you if you let it.
Why I use black veneer between the body and top
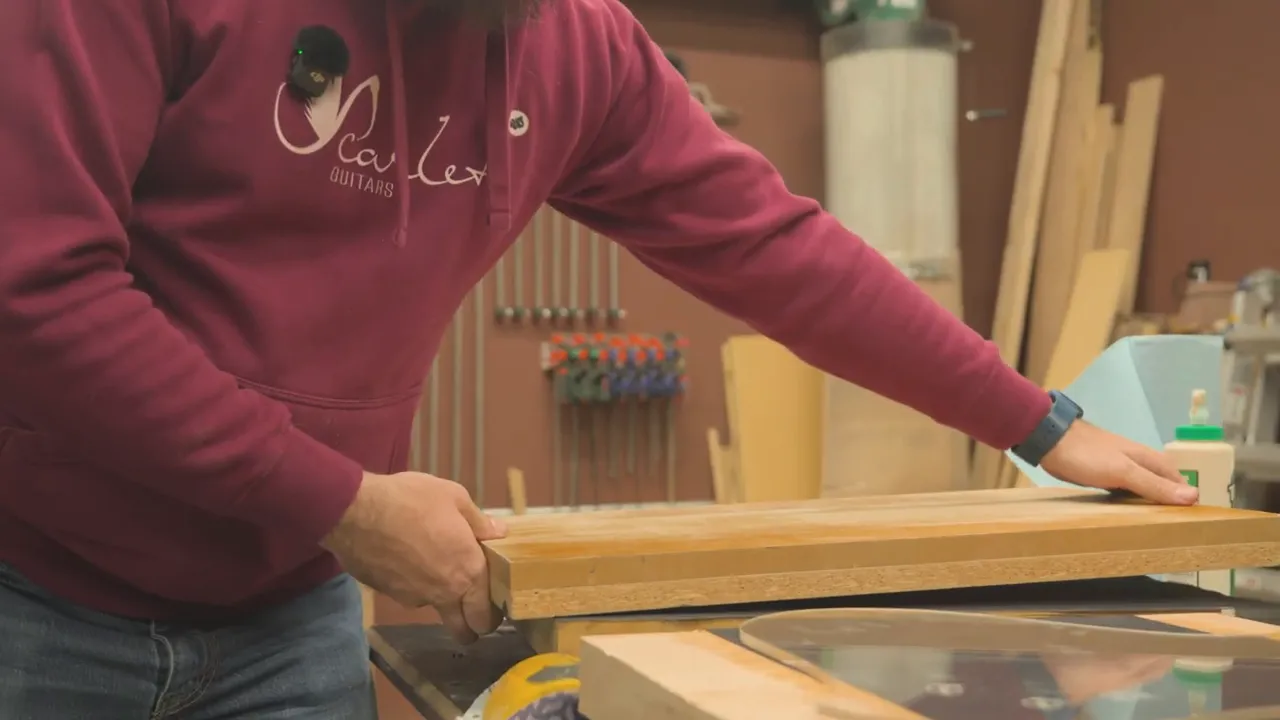
Once the tops were at thickness, it was time to start stacking the glue-ups: body blank, black veneer, top, glue in between, paper separators, and repeat under pressure.
I use black veneer between the body and the top on a lot of builds because it creates a crisp visual separation line all the way around the instrument. It’s subtle, but once you notice it, it becomes one of those details that makes the whole guitar feel more intentional.
It also became the source of one of the mistakes we had to solve.
We were using Titebond Original, which doesn’t leave much working time, so everything had to happen fast. During the clamping process, wet glue soaked through the thin veneer, and because we used an MDF or particleboard surface in the stack, the texture telegraphed into the veneer and created little raised ridges.
Not ideal.
The fix was straightforward, even if it cost us time:
- Plane the veneer down to remove the ridges
- Fill the affected areas with black CA glue
- Hit it with accelerator
- Run it through the drum sander for a clean, smooth surface again
That’s shop life. On batch custom guitar builds, little process mistakes multiply fast, so every problem has to get solved cleanly before it cascades into the next stage.
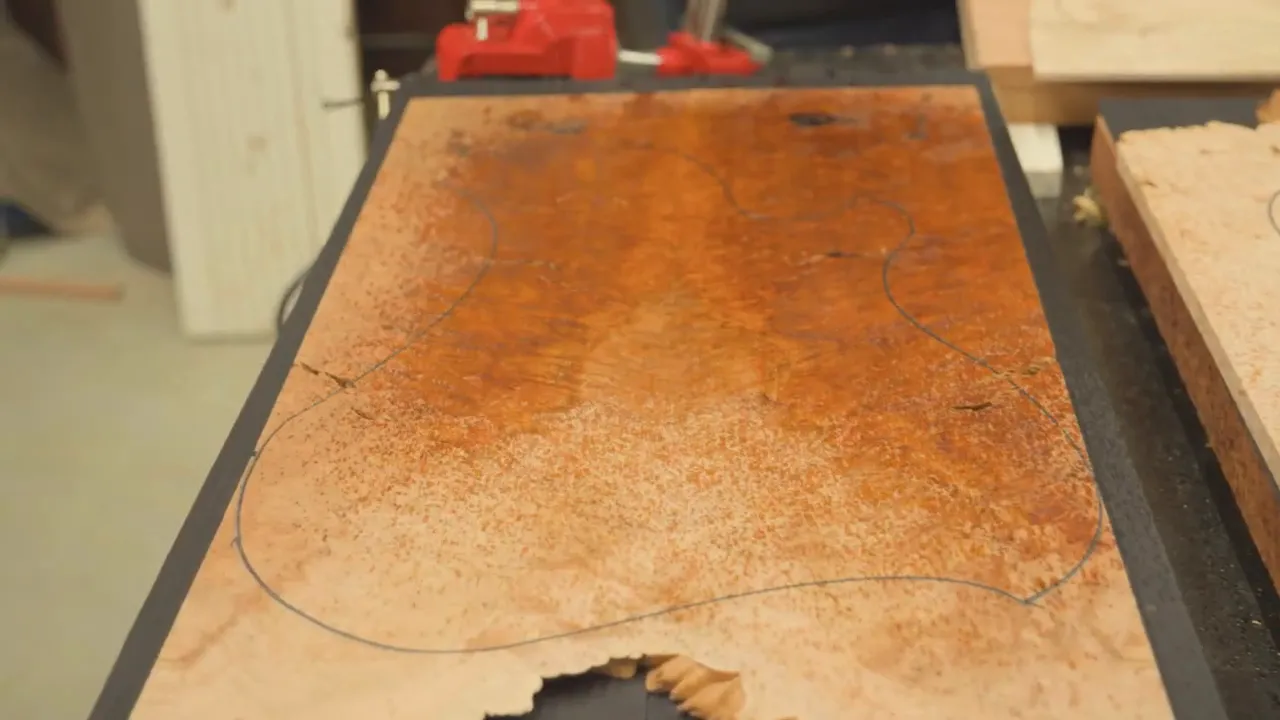
Filling burl tops with epoxy and experimenting with color
Burl tops are gorgeous, but they rarely come without little checks, voids, or cracks that need attention. A figured top can be breathtaking and still completely unusable unless you stabilize it.
So before moving forward, I filled those checks with epoxy.
This is also one of my favorite opportunities to play with color. For this batch I experimented with:
- Gunmetal steel gray
- Copper
Copper is one of my personal favorites, but I have to admit the gunmetal looked really good. Rather than just spot-filling the cracks, I worked epoxy across the surface and into the crevices to help stabilize the burl more broadly. That meant I’d need to level everything afterward, but that was worth it.
Making a template for every guitar
When you’re only making one guitar, swapping templates around is manageable. When you’re trying to build a whole batch at once, it becomes a tedious, accuracy-killing nightmare.
So I fired up the laser, affectionately known as Ling Ling the laser, and cut a bunch of templates so each guitar could keep its own pattern through the process.
That mattered for one big reason: centerline accuracy.
Every time you remove and reapply a template, you risk slight misalignment. For routing and shaping operations that depend on everything being perfectly centered, that’s not something I wanted to gamble with. Having a dedicated template per build let me move faster and with less risk.
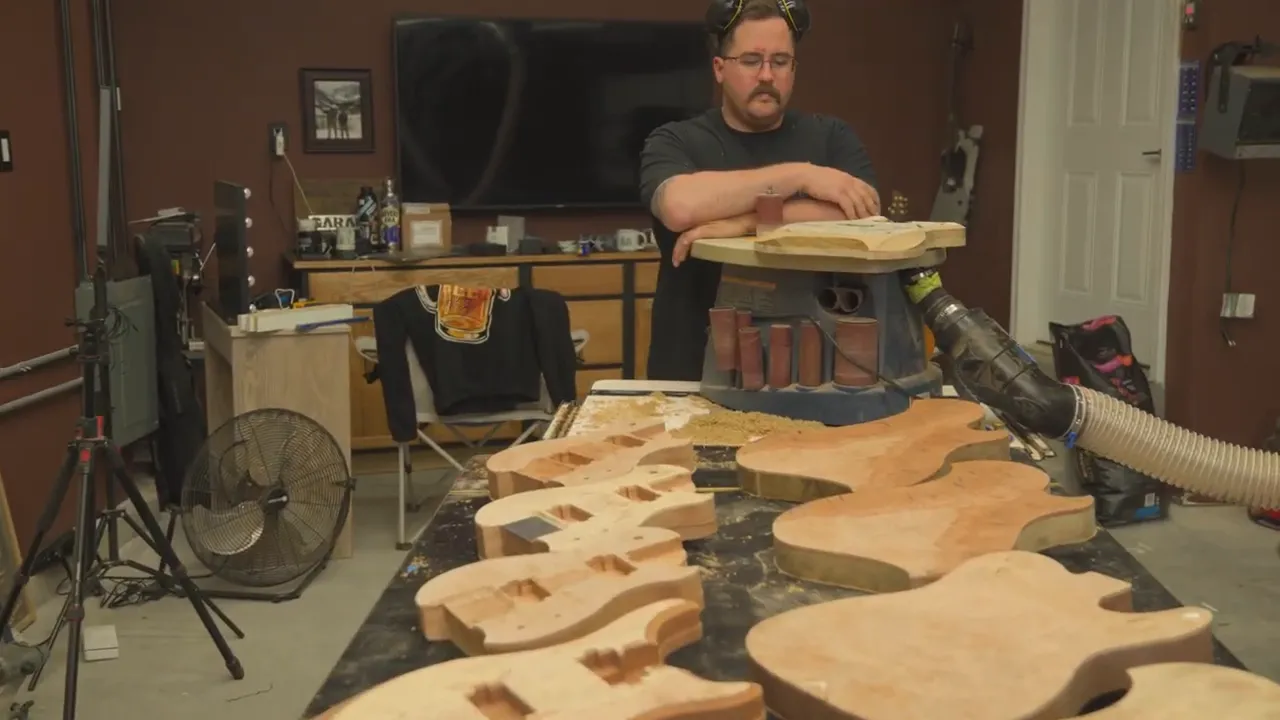
Cleaning body edges before chamfers
By the middle of day two, all the bodies were cut out. That felt like progress, but there was still a lot left before any of them looked finished.
Before cutting edge profiles, I wanted every body edge smoothed and cleaned up. Any inconsistency along the edge shows up immediately once you start chamfering. A sloppy edge leads to a sloppy chamfer, and there’s no hiding that on natural wood builds.
One of the standout bodies at this point was the one with the black epoxy fill. It looked like a tiger pattern in the top, and I was obsessed with it.
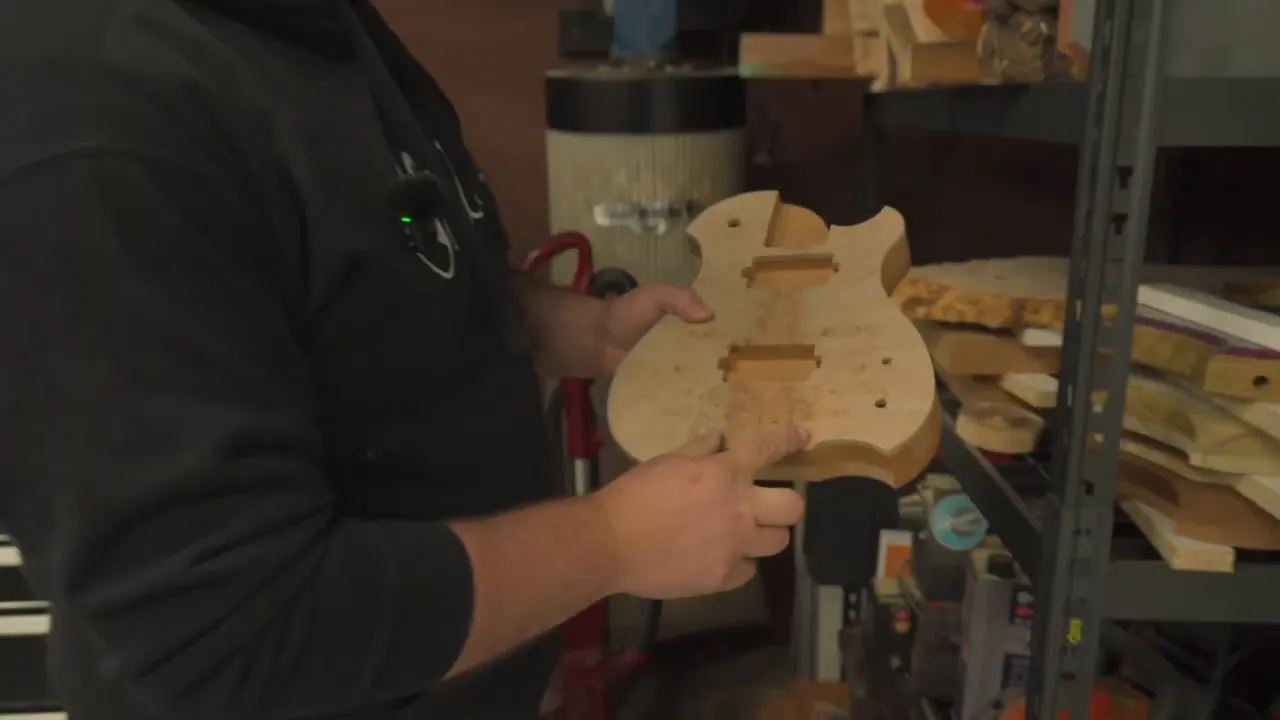
Pickup routes, electronics, and avoiding a pickguard
As the bodies got cleaner, I started routing pickups using an acrylic template marked with the required locations. These guitars were designed to go without pickguards because I wanted the wood fully visible.
That choice creates a cleaner look, but it also means every route and cavity layout has to be more carefully considered because nothing gets hidden.
One concern was the electronics plate area. Since I had already put large chamfers around that part of the body, I needed to think through whether the plate needed to shift slightly to the left. On top of that, I wasn’t using a standard Tele-style neck setup, so the details of the final layout had to fit the design rather than follow a stock pattern.
The scarf joint neck solution that actually worked
Necks were one of the most interesting parts of this run.
I didn’t have enough thick stock for the kind of neck construction I wanted, especially with the chunkier heels I was building, so I switched to scarf joints. Not only did that solve the material problem, it opened up some visual opportunities too.
One prototype neck turned out so well it stopped being a prototype and became part of the actual build lineup. It used:
- Mahogany
- Black veneer layers
- Maple accents
- A maple top cap
- A Richlite fretboard
I settled on a 10-degree headstock angle. To me that’s a strong middle ground. It gives enough break angle while avoiding some of the weakness associated with steeper angles. Gibson-style 14-degree headstocks are notorious for breakage, so I prefer a little more restraint there.
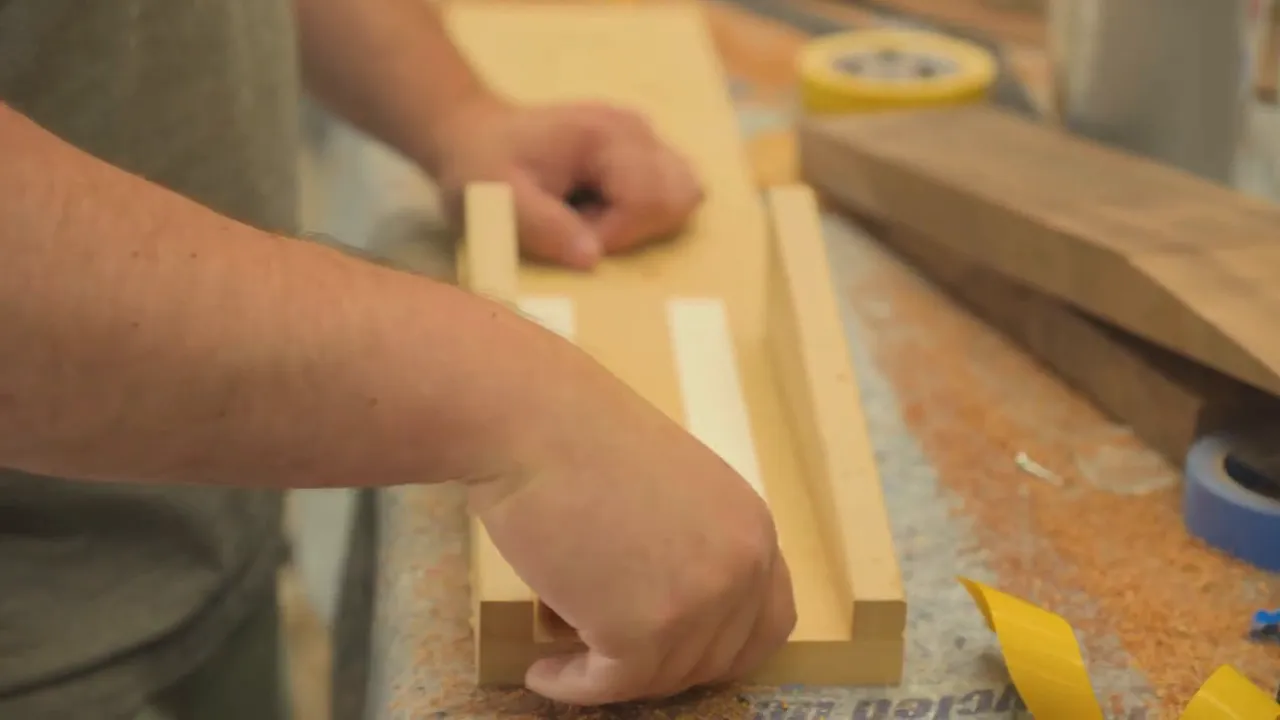
The best part was the jig. I had never really had a scarf-joint setup I liked until I built an incredibly simple one: a rectangular MDF sled set to 10 degrees, double-sided tape to hold the blank in place, and a router pass to clean the joint face.
That’s it.
No overcomplicated fixture. No fancy mechanism. Just careful alignment.
The key details were:
- Mark out enough space for the future headstock
- Cut the blank on the bandsaw
- Mount it to the 10-degree jig with smooth, even tape contact
- Verify the router height so you don’t remove too much material
- Route the face cleanly for a strong glue surface
The result was a clean, elongated scarf joint that looked great and gave me the neck geometry I needed. For batch custom guitar builds, simple jigs that work reliably are worth their weight in gold.
The reality of trying to finish ten guitars in five days
At some point the ambition of the plan collided head-on with reality.
Making one guitar is work. Making two is more work. Making ten at once is a completely different beast. You’re not just repeating one process over and over. You’re juggling drying time, templates, glue windows, machining order, neck construction, fretwork, detail sanding, hardware fitting, and every small correction that pops up along the way.
We pushed hard. Really hard.
By the end of it, Sean and I had been awake for something like 23 hours, driving halfway to Dallas with a batch of guitars that still needed attention. We didn’t hit ten finished instruments, but we got seven or eight to the point where they could make the trip.
That was still better than zero.
And yes, I was doing fretwork in the passenger seat.
Taking the guitars to Dallas
We brought the batch to the Dallas International Guitar Festival, where the setup turned into something like a live workshop. The guitars were there, but they still weren’t fully dialed in. The first day was basically twelve hours behind a table doing final detail work.
That’s the part people don’t always see with custom guitar builds. The finish line doesn’t always look clean and cinematic. Sometimes it looks like exhaustion, tools on a table, and squeezing every last bit of setup time out of an event weekend.
One standout build: the Sparrow traveler-size headless
One of the stars of the group was the Sparrow traveler-size headless.
This one had a lot going for it:
- Super lightweight construction
- Wenge neck
- An entirely inlaid fretboard
- Fretboard inlay wrapping around the side dots so the markers remained visible
- Genuine brass headstock piece
- Gold hardware
- Mahogany body
- The Sparrow logo integrated into the design
It was one of those instruments that immediately justified the chaos it took to get there.
Giving a guitar away at the festival
We also decided to do something fun at the event: a raffle-style giveaway.
Anyone who came by and subscribed to the YouTube channel could enter for a chance to win one of the guitars on the table. Not every guitar, though. A few were definitely not leaving that way.
I don’t think most people believed we were actually serious about giving one away, which honestly made the payoff even better.
At the end of the weekend, before heading back to St. Louis, we drew a winner: David.
When I called him, he was understandably shocked. He remembered the booth, remembered the guitars, and got to pick from the available instruments after we sent photos. That kind of moment makes the whole grind feel worthwhile.

What this batch taught me about custom guitar builds
This run reinforced a few things for me.
- Preparation matters, especially when a shop move threatens to shut everything down.
- Small process mistakes become big problems when you multiply them across a batch.
- Natural wood still wins when the materials are chosen well.
- Simple jigs are often the best jigs if they’re repeatable and accurate.
- Batch building is not easier. It’s just a different kind of hard.
Most importantly, it confirmed why I want Scarlett Guitars centered around limited releases instead of volume. These custom guitar builds are at their best when each one gets room to be itself. Different woods. Different specs. Different design decisions. No clones. No filler.
That’s the whole point of the Collector’s Vault approach. Build less. Build better. Make it weird when it should be weird. Make it elegant when the wood asks for elegance. And don’t repeat something just because it sold once.
Where these guitars ended up
The guitars from this run were built for the Collector’s Vault drop, and every one of them carried its own combination of materials, choices, and little shop stories. Some started as rough blanks in the old shop. Some revealed their identity the second the grain got wet. Some fought back every step of the way.
That’s part of what makes custom guitar builds worth doing. They are never just objects. They’re decisions, fixes, accidents, experiments, recoveries, and moments where the wood suddenly tells you that you got it right.
And if I have to stay awake way too long, rebuild a shop in freezing weather, file down a damaged bandsaw fence, and do fretwork in a passenger seat to make that happen, apparently that’s what I’m doing.
Honestly, I’d do it again.
Access Collector's Vault

Leave a comment
This site is protected by hCaptcha and the hCaptcha Privacy Policy and Terms of Service apply.